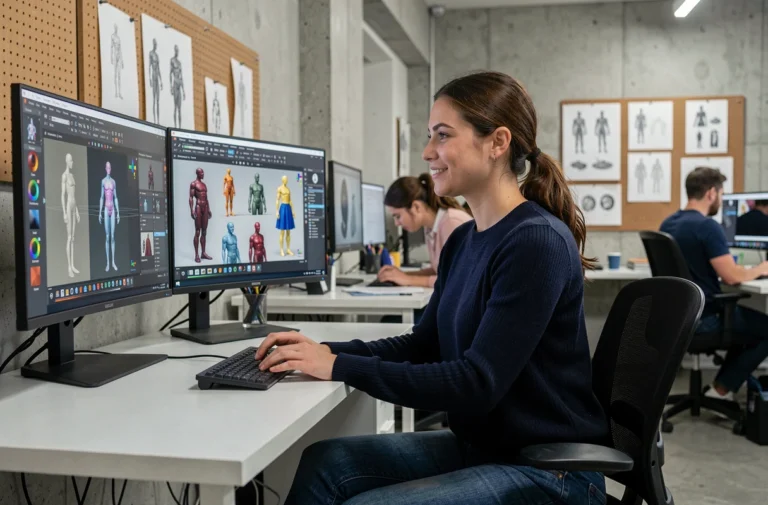

How to Use Photoshop. Enhance the presentation of your work and optimize the efforts and productivity of your architecture and design firm.
Probably, if you haven’t been living on the moon these past few years, you’ve heard of Adobe Photoshop. This fantastic program is useful for all kinds of jobs and personal uses. Although it may seem intimidating or overwhelming, learning how to use Photoshop can be easier than you think.
Understanding how to use Photoshop can be a great help for your design work. You can use it to create graphics for your website, edit and enhance product and design photography, create advertisements, and much more. Learning to use Photoshop can be a very useful upgrade for your architecture and design business.
How to Use Photoshop
Adobe Photoshop is an imaging and graphic design software used by thousands of people around the world. It is not photo-specific software, but you can use Photoshop to design websites, edit videos, and create 3D graphics. Before you can use Photoshop, you need to purchase a subscription and download Photoshop to your device. Once you have downloaded the software, you can deepen your knowledge of Photoshop tools.
Introduction to Adobe Photoshop. How to use Photoshop, basic functions.
As a beginner in Photoshop, it is important to understand the anatomy of the interface before you start. When you open the window, you will see the main menu at the top. On the left side, you will see a sidebar showing the main tools. On the right, you will see the color tool and the levels.
How to Open a Document in Photoshop
To create a new document or open a file on your computer, click on “File” in the upper left menu. Select “New” to create a new blank document. Or click on “Open” to open a session on your computer and open an existing file.
When you create a document, a dialog box appears. In this window, you can name the file and select the desired size and resolution. This is useful if your website requires a certain file size to display photos correctly. Keep in mind that Photoshop will “lock” this new document, preventing you from making changes directly to this layer. To unlock it, click on the lock icon in the layer name and it will disappear. Read on to learn more about layers.
Photoshop Toolbox
The toolbox in the left sidebar will be your best friend. The tools are organized into groups based on what they do:
The top section includes selection tools, cropping, and cutting. Use them to select parts of images that you want to modify or enhance, or to crop and cut out pieces you want to exclude.
The second section includes retouching and painting tools. Use them to remove unwanted spots, draw on the image, delete certain parts, color, or enhance them with sharpness or blur.
The third section is dedicated to drawing and typing tools. Use these tools to write text on your image or draw images manually using the pen tool.
Whenever you click on one of the toolbar options on the left, you will see the tool options appear in the main menu at the top. We will cover these topics as we discuss each tool.
How to Use Layers in Photoshop
Speaking of layers, this is a fundamental feature to use in Photoshop. While you are working in the software, you may find that Photoshop is not doing something you want, only to discover that it is not Photoshop’s fault but that you are working on the wrong layers.
Layers in Photoshop (but also in Gimp and other major graphic programs) are like stacked sheets of glass. When you use multiple layers, it is easier to modify a part of the image without messing up the rest of the final product. You can easily add or remove layers and “hide” them by clicking on the eye icon to the left of each layer name. In many cases, Photoshop automatically creates a new layer for your action. For example, if you use the Text tool to write in the background image, or if you paste another image onto the document, it creates a distinct unnamed layer.
How to Use the Pen Tool in Photoshop
The Pen tool allows you to draw your shapes. By using it, you will have four different options:
- Standard pen for drawing curves and straight segments
- Curvature pen for intuitively drawing straight and curved segments
- Freehand pen for drawing freely, as if you were using paper
- Magnetic pen for drawing paths that snap to the edges of defined edges, for more
precision
Select the standard pen tool by clicking and holding the pen icon and choosing the one that says “Pen Tool.” You can also cycle through the different pen tools by clicking the main icon in the window, then pressing “Shift P” as a keyboard shortcut. Each time you click the button, you will create an anchor point. Anchor points act as an angle or point where the curves of the shape meet.
How to Use the Text Tool in Photoshop
The Text tool allows you to write words on the image. When you hold down the Text tool icon in the toolbox on the left, you will see the option to type horizontally or vertically. Like all other tools, several options will be displayed in the main menu when you click on it. You can also edit using the Character panel, which offers you additional options.
How to Use the Gradient Tool in Photoshop
A gradient is a smooth transition of color between two or more colors. Gradients make great backgrounds for photography or product ads. They can be an easy way to add a bit of color and a professional look.
Tag : Photoshop alternative